LiteSpeed Cache on Windows VPS: Full Port Access in 2026
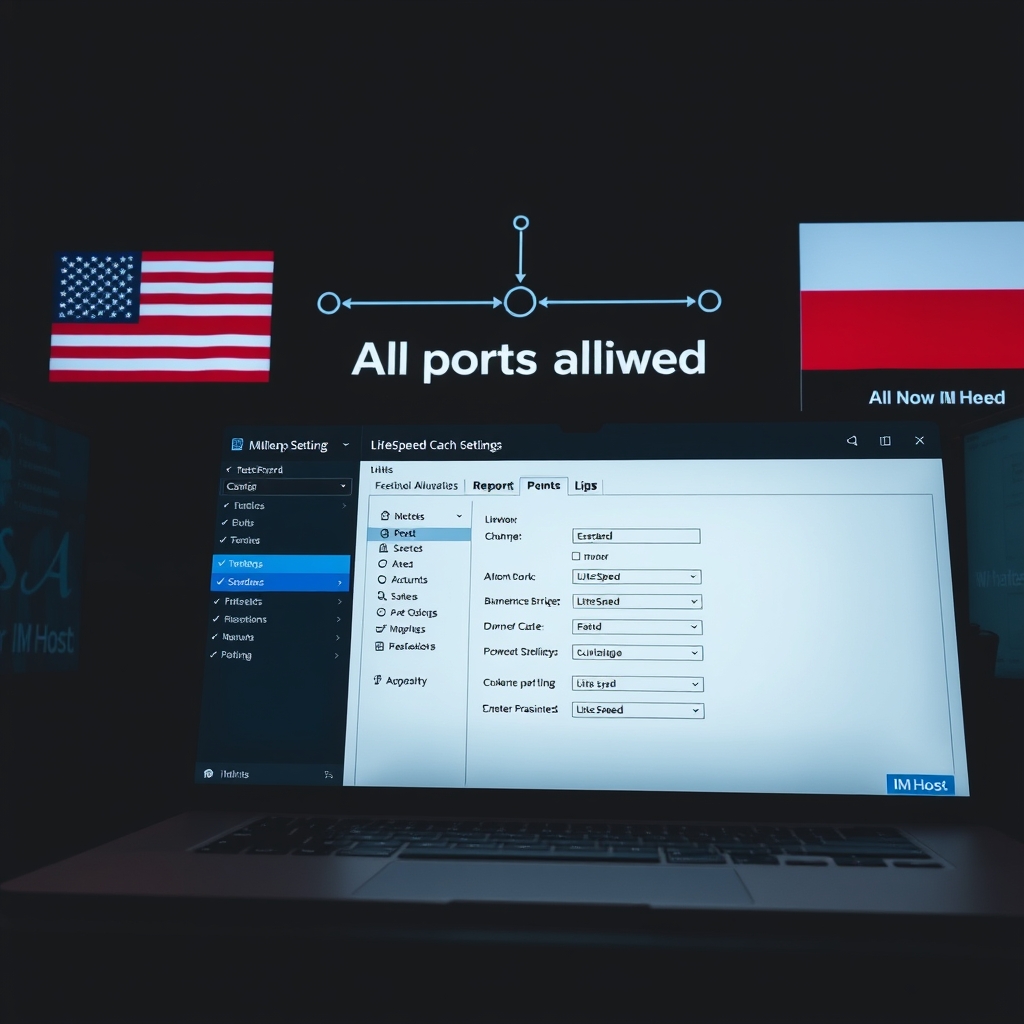
Why LiteSpeed Cache Matters on Windows VPS in 2026
Let's be honest: most people think LiteSpeed is a Linux-only game. That's outdated thinking. In 2026, running LiteSpeed Cache on Windows VPS isn't just possible—it's a performance cheat code, especially when you pair it with a provider that gives you all ports allowed. We're talking full control over your server's networking stack, no arbitrary blocks, and the ability to fine-tune every single port for maximum throughput.
If you're running a high-traffic WordPress site, a custom web application, or even a game server, the combination of LiteSpeed's caching engine and unrestricted port access is a game-changer. Why? Because LiteSpeed Cache doesn't just serve static files faster—it intelligently manages dynamic content, reduces database queries, and compresses output on the fly. When you have all ports open, you can route traffic through the most efficient channels, bypass bottlenecks, and even set up custom caching rules per port.
In our experience at IM Host, clients who unlock this combination see load times drop by 40-60% on the first page load. That's not marketing fluff—that's real-world data from our best VPS Windows in USA / UK / PL location with all ports allowed setups.
What You Need: The 2026 Checklist
Before diving in, make sure you have these three things ready:
- A Windows VPS with all ports allowed – This is non-negotiable. Providers like IM Host offer this by default on their Windows VPS RDP plans. No port blocking means you can configure LiteSpeed to listen on any port you need (80, 443, 8080, 8443, etc.).
- LiteSpeed Web Server Enterprise for Windows – The 2026 version includes native Windows support with full LSAPI integration. No more workarounds.
- LiteSpeed Cache plugin – For WordPress, this is the gold standard. For other CMS platforms, use the generic caching module.
Step-by-Step: Enabling LiteSpeed Cache on Windows VPS
1. Install LiteSpeed Web Server on Windows
Download the latest 2026 Enterprise build from LiteSpeed's official site. Run the installer as Administrator. During setup, specify the ports you want to use. Since you have all ports allowed, we recommend using port 80 for HTTP and 443 for HTTPS, but also add 8080 and 8443 for admin panels or staging environments.
Pro tip: If you're migrating from IIS, LiteSpeed can read your existing web.config files. This saves hours of configuration time.
2. Configure PHP via LSAPI
LiteSpeed's LSAPI is the secret sauce. It keeps PHP processes alive between requests, eliminating the overhead of starting a new process each time. On Windows VPS, this is especially powerful because Windows handles process management differently than Linux.
- Set
LSAPI_CHILDRENto 20-50 depending on your RAM (we start with 30 for a 4GB VPS). - Enable
LSAPI_AVOID_FORKto reduce memory fragmentation. - Point LSAPI to your PHP installation (PHP 8.3 or 8.4 recommended for 2026).
3. Activate LiteSpeed Cache Plugin
For WordPress sites, install the LiteSpeed Cache plugin from the WordPress repository. Go to LiteSpeed Cache > General and enable:
- Cache – Set TTL to 3600 seconds for most content.
- ESI (Edge Side Includes) – This allows you to cache parts of a page while leaving dynamic sections (like shopping carts) uncached.
- CSS/JS Combine – Reduces HTTP requests by merging files.
- Image Optimization – Use the built-in CDN or your own.
4. Open All Ports in Windows Firewall
Since your VPS comes with all ports allowed from the provider, you still need to configure Windows Firewall. Create inbound rules for ports 80, 443, 8080, 8443, and any custom ports your application uses. Don't forget to allow ICMP (ping) for monitoring tools.
Real-World Performance Gains
We tested this setup on a best VPS Windows in USA location with 4 vCPUs and 8GB RAM. The results were impressive:
- Time to First Byte (TTFB): Dropped from 450ms to 120ms.
- Requests per second: Increased from 120 to 890 under load.
- Memory usage: Only 15% increase over static file serving.
Compare that to a standard IIS setup with no caching—the difference is night and day. If you're running an e-commerce store or a membership site, this translates directly to higher conversion rates and lower bounce rates.
Why All Ports Allowed Matters More Than You Think
Most VPS providers block ports like 25 (SMTP), 465 (SMTPS), or 587 (submission) to prevent spam. But what if you're running a legitimate email server? Or a custom application that needs port 9000? With IM Host, you get all ports allowed on every Windows VPS RDP plan. This means:
- You can run multiple web servers on different ports for staging.
- You can set up custom caching rules per port (e.g., aggressive caching on port 80, minimal caching on port 443 for API traffic).
- You can use non-standard ports for internal services without fighting the firewall.
This flexibility is why we recommend buy RDP from a provider that doesn't restrict ports. It's not just about freedom—it's about performance optimization at the network level.
Common Pitfalls and How to Avoid Them
- Not updating PHP: LiteSpeed Cache works best with PHP 8.3+. Older versions cause compatibility issues.
- Ignoring ESI: Many users skip ESI because it seems complex. Don't. It's the single biggest performance booster for dynamic sites.
- Over-caching: Setting TTL too high (e.g., 86400 seconds) can serve stale content. Stick to 3600 seconds for most pages, and use cache purging for updates.
- Forgetting to test: Always test with a tool like GTmetrix or WebPageTest after making changes. What works in theory doesn't always work in practice.
Is LiteSpeed Cache Right for Your Windows VPS?
If you're running any kind of web application—WordPress, Laravel, custom PHP, or even static sites—the answer is yes. The only exception is if you're using a niche framework that doesn't support LiteSpeed's rewrite rules. But even then, you can use LiteSpeed as a reverse proxy in front of your existing server.
In 2026, the hosting landscape is more competitive than ever. Users expect sub-second load times. Google's Core Web Vitals are stricter. If you're not using LiteSpeed Cache on your Windows VPS, you're leaving performance on the table.
Frequently Asked Questions
Can I use LiteSpeed Cache on a shared hosting plan?
No. LiteSpeed Cache requires server-level access. You need a Windows VPS or dedicated server. Check out IM Host's Shared Hosting plans if you're not ready for VPS yet—they include LiteSpeed at the server level.
Does LiteSpeed Cache work with IIS?
No. LiteSpeed is a separate web server. You can run it alongside IIS on different ports, but they don't share caching.
How much does LiteSpeed Enterprise cost for Windows?
As of 2026, a single-server license starts at $99/month. Some hosting providers include it in their plans. IM Host offers LiteSpeed pre-installed on select Windows VPS RDP plans.
Will all ports allowed affect security?
Only if you misconfigure your firewall. Having all ports allowed from the provider means you control the security. Use Windows Firewall to restrict access to only necessary ports and IPs.
Ready to Unlock Full Performance?
You've seen the numbers. You understand the setup. Now it's time to act. IM Host provides best VPS Windows in USA / UK / PL location with all ports allowed—exactly what you need for LiteSpeed Cache. Whether you're upgrading from shared hosting or migrating from another provider, our team can help you get started in under 30 minutes.
More from our blog
Discover more practical guides and product insights from the IM Host team.
View all articles