Ensuring Seamless DNS and Email Continuity During a Domain Transfer: A Technical Checklist for 2026
Ensuring Seamless DNS and Email Continuity During a Domain Transfer: A Technical Checklist for 2026
Domain transfers can feel like walking a tightrope. One wrong step, and your website could go offline, emails could bounce, and your business could suffer. But it doesn't have to be that way. As senior hosting experts at IM Host, we've guided countless clients through successful domain transfer processes, ensuring DNS continuity and email continuity without a hitch. In 2026, with faster propagation and more sophisticated systems, the principles remain the same, but the tools and best practices evolve. Let's dive into a comprehensive technical guide to keep your services humming.
Pre-Transfer Preparations: Laying the Groundwork for Success
The secret to a smooth domain transfer lies in meticulous preparation. Don't rush this phase; it's your safety net.
- Verify Domain Eligibility: First things first, is your domain even eligible for transfer? Most registrars require a domain to be active for at least 60 days and not have been transferred within the last 60 days. Check your current registrar's policy and your domain's WHOIS record.
- Unlock Your Domain: Your domain is likely locked by default to prevent unauthorized transfers. Log into your current registrar's control panel and find the 'Domain Lock' or 'Transfer Lock' setting. Unlock it. This is a crucial step; without it, the transfer will fail.
- Obtain Your EPP Code (Authorization Code): This is your domain's password for transfer. It's a unique alphanumeric string that proves you're the legitimate owner. You'll usually find this in your current registrar's domain management section. Keep it secure, as you'll need to provide it to your new registrar.
- Update WHOIS Contact Information: Ensure your administrative email address in the WHOIS record is current and accessible. This is where transfer approval emails will be sent. If it's outdated, you'll hit a roadblock.
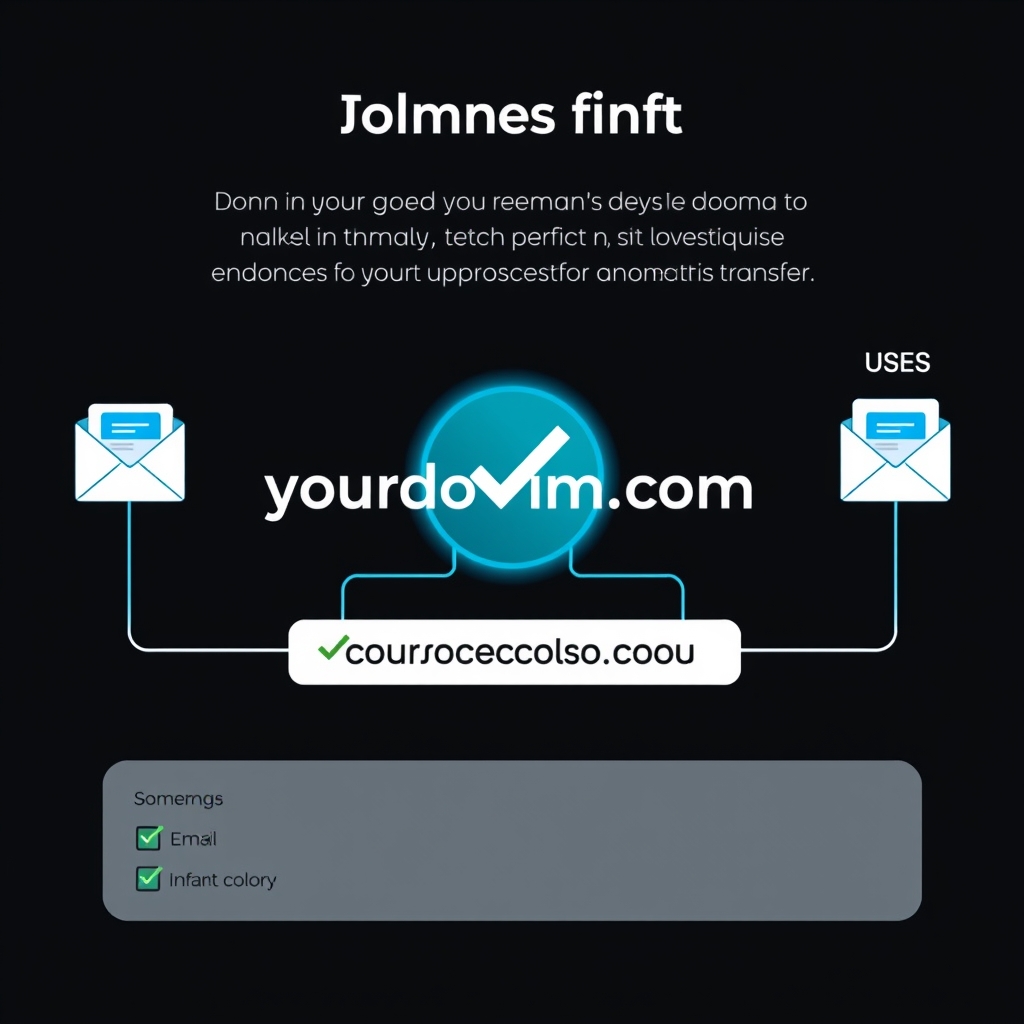
- Inventory Your DNS Records: This is perhaps the most critical technical step for DNS continuity. Before initiating anything, log into your current DNS management interface and take a complete snapshot of all your DNS records. We're talking A records, CNAMEs, TXT records (especially SPF and DKIM for email authentication), SRV records, and most importantly, your MX records. Screenshot them, copy-paste them into a document – whatever works. This is your blueprint.
- Lower Your DNS TTL (Time-To-Live): This is a pro tip for faster DNS propagation. A few days before the transfer, reduce the TTL values for your critical DNS records (especially A and MX records) to a very low number, like 300 seconds (5 minutes). This ensures that when you update your DNS at the new registrar, the changes propagate much faster across the internet. Remember to revert them to a higher value (e.g., 3600 seconds) after the transfer is complete and stable.
- Backup Everything: While a domain transfer doesn't directly affect your website files or databases, it's always wise to have a full backup of your website and email data. Better safe than sorry, right?
Managing DNS and MX Records During the Transfer: The Critical Phase
This is where most people get nervous, but with your preparations, you're ready.
- Initiate the Transfer with Your New Registrar: Provide your domain name and the EPP code to your new registrar (e.g., IM Host). They will then initiate the transfer request.
- Approve the Transfer: You'll receive an email (to the WHOIS admin email) asking you to approve the transfer. Act on this promptly. Some registrars also have an approval link within their control panel.
- Replicate DNS Records at the New Registrar: This is where your inventory comes in handy. As soon as your domain appears in your new registrar's control panel (even if the transfer isn't fully complete, you can often manage DNS), immediately replicate all the DNS records you inventoried. Pay special attention to your A records (pointing to your web server) and your MX records (pointing to your email server). If you're also moving your web hosting, ensure your A record points to your new IM Host server IP.
- Keep Your Old DNS Active (Temporarily): Do NOT delete your DNS records or close your account with the old registrar until the transfer is fully complete and you've verified everything is working at the new registrar. Your old DNS will continue to serve requests during the propagation period, ensuring uninterrupted service.
- Monitor DNS Propagation: Use online tools like DNS Checker or whatsmydns.net to monitor the DNS propagation of your A and MX records. You're looking for consistency across different geographical locations. This process typically takes a few hours, but can sometimes extend up to 48 hours, especially for global propagation.
- Test Email Service: Send test emails to and from accounts hosted on your domain. Verify that both sending and receiving work flawlessly. This is crucial for email continuity.
Post-Transfer Verification: The Final Checkpoints
You're almost there! A few final checks ensure everything is truly stable.
- Verify Domain Ownership at New Registrar: Confirm that your domain is fully transferred and registered under your account at IM Host. Check the expiry date and ensure all details are correct.
- Re-enable Domain Lock: For security, re-enable the domain lock at your new registrar. This protects your domain from unauthorized transfers in the future.
- Restore DNS TTLs: Once you're confident that DNS has fully propagated and all services are stable, you can increase your DNS TTL values back to their original, higher settings (e.g., 3600 seconds or more). This reduces the load on DNS servers and can slightly improve performance.
- Update SPF, DKIM, DMARC (if applicable): If your email service or hosting provider changed, you might need to update your SPF, DKIM, and DMARC records to reflect the new sending servers. This is vital for email deliverability and preventing your emails from being marked as spam in 2026.
- Cancel Old Registrar Account (Optional): Only once you are 100% certain that everything is working perfectly and you no longer need any services from your old registrar, consider canceling your account with them.
- Ongoing Monitoring: Even after a successful transfer, keep an eye on your website and email services for a few days. Set up uptime monitoring and email alerts to catch any unexpected issues early.
Your 2026 Domain Transfer Checklist: A Quick Reference
Here’s a concise domain transfer checklist to keep handy:
- [ ] Verify domain eligibility (60-day rule).
- [ ] Unlock domain at current registrar.
- [ ] Obtain EPP code.
- [ ] Update WHOIS contact info.
- [ ] Inventory all DNS records (A, CNAME, MX, TXT, SRV).
- [ ] Lower DNS TTLs (e.g., 300 seconds).
- [ ] Backup website and email data.
- [ ] Initiate transfer with new registrar (IM Host).
- [ ] Approve transfer via email/control panel.
- [ ] Replicate all DNS records at new registrar.
- [ ] Keep old DNS active during propagation.
- [ ] Monitor DNS propagation with online tools.
- [ ] Test website and email services thoroughly.
- [ ] Verify domain ownership at new registrar.
- [ ] Re-enable domain lock.
- [ ] Restore DNS TTLs to original values.
- [ ] Update SPF/DKIM/DMARC if needed.
- [ ] Cancel old registrar account (if desired, after full verification).
- [ ] Implement ongoing monitoring.
Conclusion: Master Your Domain Transfer with Confidence
A registrar transfer doesn't have to be a source of anxiety. By following these domain transfer best practices and leveraging this technical checklist, you can ensure uninterrupted service for your website and email. At IM Host, we pride ourselves on making these transitions as smooth as possible. Our support team is always ready to assist you through every step, ensuring your digital presence remains robust and reliable, aligning with the best 2026 hosting trends.